
A smooth aircond installation usually starts before the technician arrives. A few simple preparations can reduce delays, make the site easier to assess and help you confirm the installation scope before drilling or piping begins.
For homes and businesses in Kuala Lumpur and Selangor, the most useful preparation is to have the unit details, indoor and outdoor locations, access conditions and any existing aircond information ready in advance.
Use the checklist below before your appointment. If you have already purchased your unit, you can also arrange professional aircond installation in KL & Selangor after sending the installation details and photos.
Quick Aircond Installation Checklist
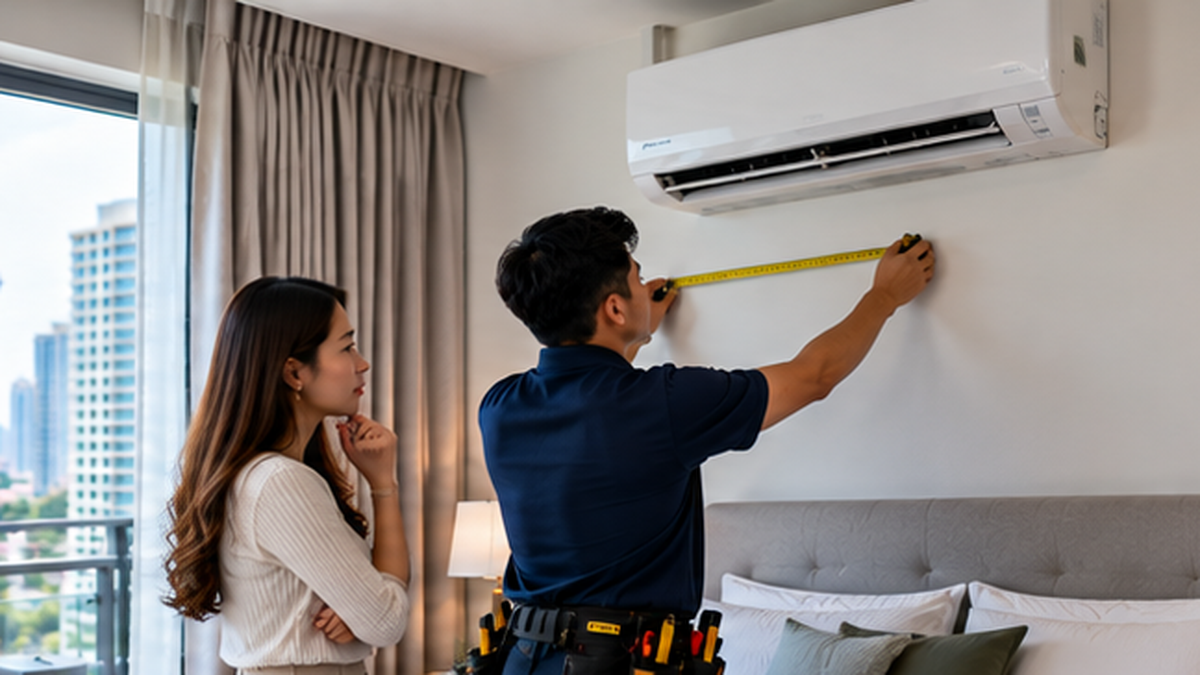
Figure 1. Pre-installation assessment
ALT: Homeowner and technician reviewing the aircond installation location before work begins
| Before the appointment | What to prepare |
|---|---|
| Aircond details | Brand, model and horsepower if already purchased |
| Indoor location | Clear photo of the wall or ceiling area |
| Outdoor location | Photo of balcony, ledge, service yard or condenser area |
| Electrical supply | Photo of the existing aircond point if available |
| Existing unit | Tell the technician if dismantling or removal is required |
| Access | Condo rules, parking, lift booking or restricted working hours |
| Room preparation | Clear furniture and valuables away from the work area |
| Scope | Confirm included materials and possible extra work before installation |
1. Confirm the Aircond Model and Horsepower
If you have already purchased the aircond, send the technician the brand, model and horsepower before the appointment. A photo of the product label or box can also help.
This matters because different units can require different piping sizes, electrical arrangements and installation clearances. The technician should know what equipment is being installed before arriving whenever possible.
If you have not purchased the aircond yet, do not choose horsepower only because a larger number sounds better. Room size is only one factor; sunlight, ceiling height, windows, occupancy and room layout can also affect the cooling requirement.
2. Decide the Preferred Indoor Unit Location
Choose one or two possible indoor locations rather than assuming there is only one acceptable wall.
The final position should allow good airflow, a practical piping and drainage route, and enough access for future cleaning or servicing. Avoid blocking the proposed area with wardrobes, curtains or tall furniture.
You do not need to mark or drill the wall yourself. The technician should confirm the final location after checking the room and the outdoor-unit route.
3. Identify the Outdoor Condenser Location
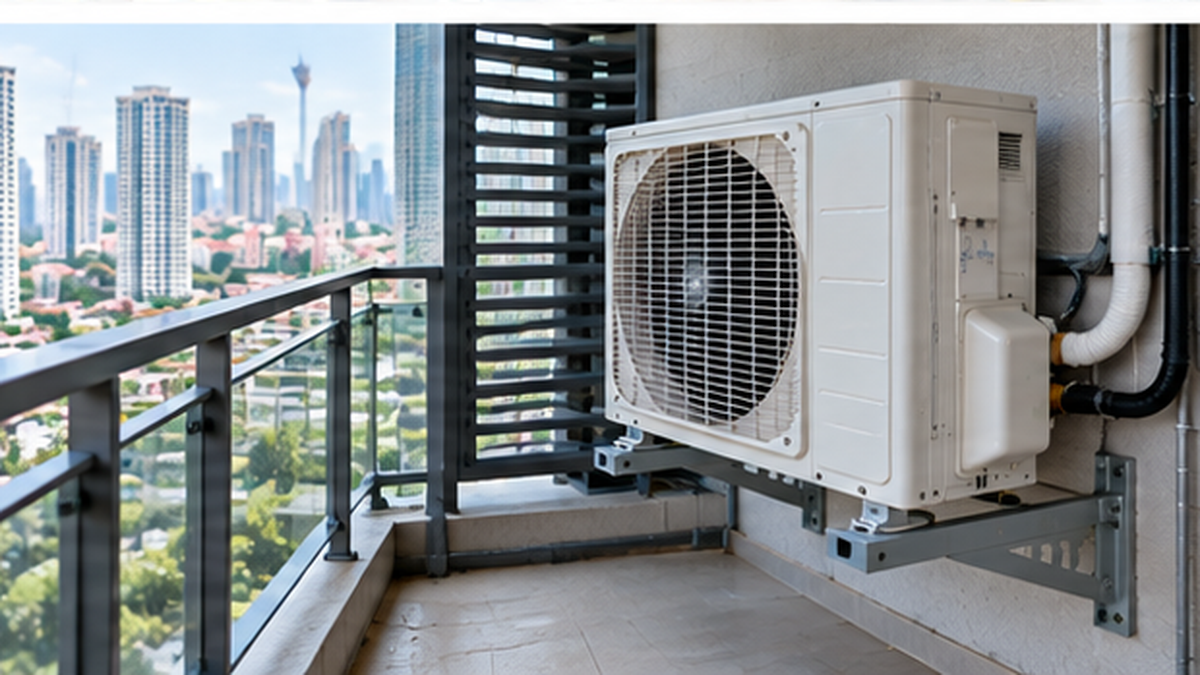
Figure 3. Confirm outdoor-unit placement and access
ALT: Outdoor aircond condenser installed in an accessible apartment service area
The outdoor unit needs a suitable position with ventilation, secure support and practical access for installation and future servicing.
Before the appointment, take a clear photo of the proposed condenser location. For apartments and condominiums, check whether the building has a designated outdoor-unit area or any management restrictions.
If the condenser is difficult to reach, located on a high-rise ledge or requires special access, mention this before the technician travels to the property. Access conditions can change the equipment, time and scope required for the job.
4. Check the Electrical Point
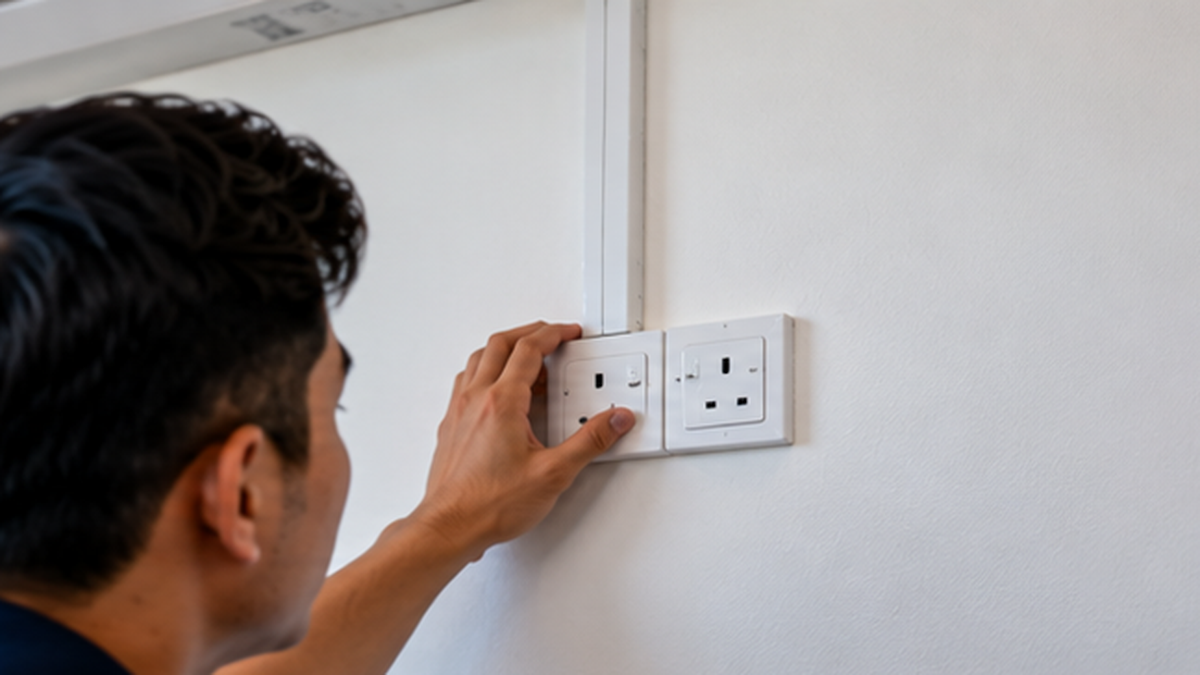
Figure 2. Check the electrical point before installation
ALT: Technician checking an existing electrical point before aircond installation
Tell the installer whether there is already a dedicated aircond electrical point near the proposed location.
If possible, send a photo of the existing point or isolator before the appointment. If a new electrical connection is required, this should be identified before work begins rather than improvised after the aircond has been mounted.
Do not rely on extension cords or unsuitable household sockets as a permanent solution. The electrical setup should be appropriate for the unit being installed.
5. Plan for Drainage and Piping
Aircond installation is not only about mounting the indoor unit. Refrigerant piping, insulation, drainage and electrical connections must travel between the indoor and outdoor units.
A proper drainage route is especially important because condensation must flow away from the indoor unit without creating leaks or water traps. The piping route can also affect the amount of material required.
You do not need to design the route yourself, but you should make sure the technician can see both the indoor and outdoor areas during the assessment.
6. Tell the Technician About the Existing Aircond
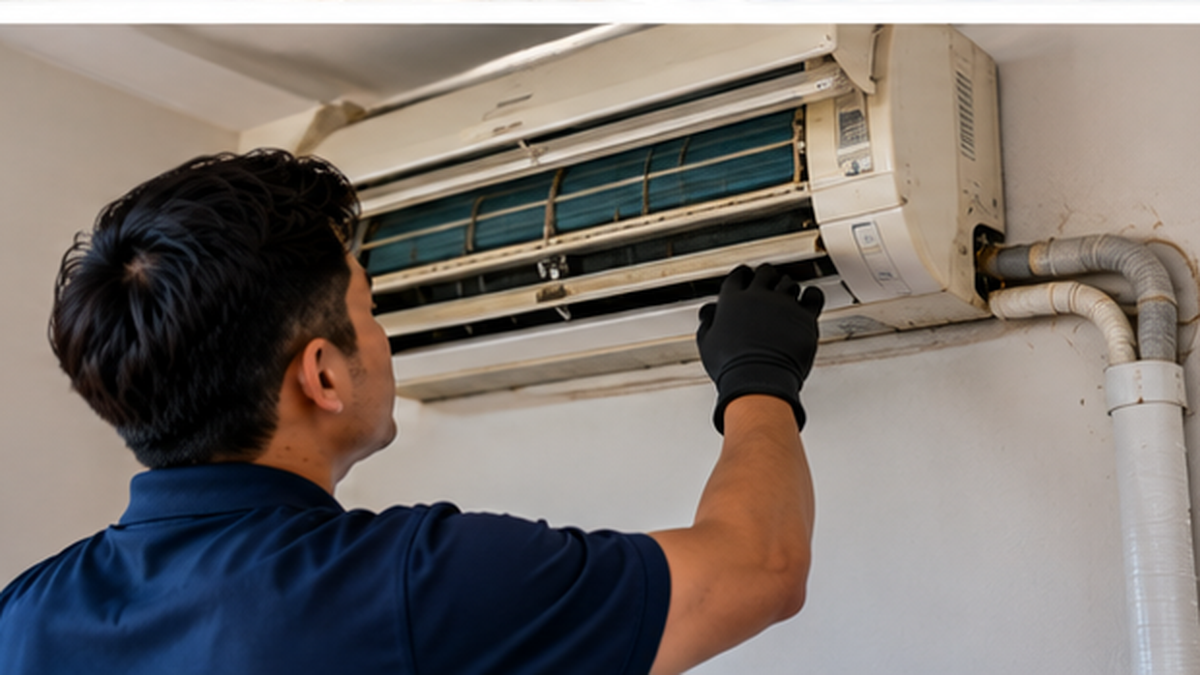
Figure 4. Existing aircond inspection before replacement
ALT: Technician inspecting an existing wall-mounted aircond before replacement
If an old aircond is being replaced, mention it when booking rather than waiting until installation day.
Send a photo of the existing indoor and outdoor units and clarify whether you need dismantling, removal or disposal included in the job.
Existing copper piping should not automatically be assumed reusable. Its condition, size and compatibility with the new system should be checked before reuse.
7. Clear the Work Area Before the Technician Arrives
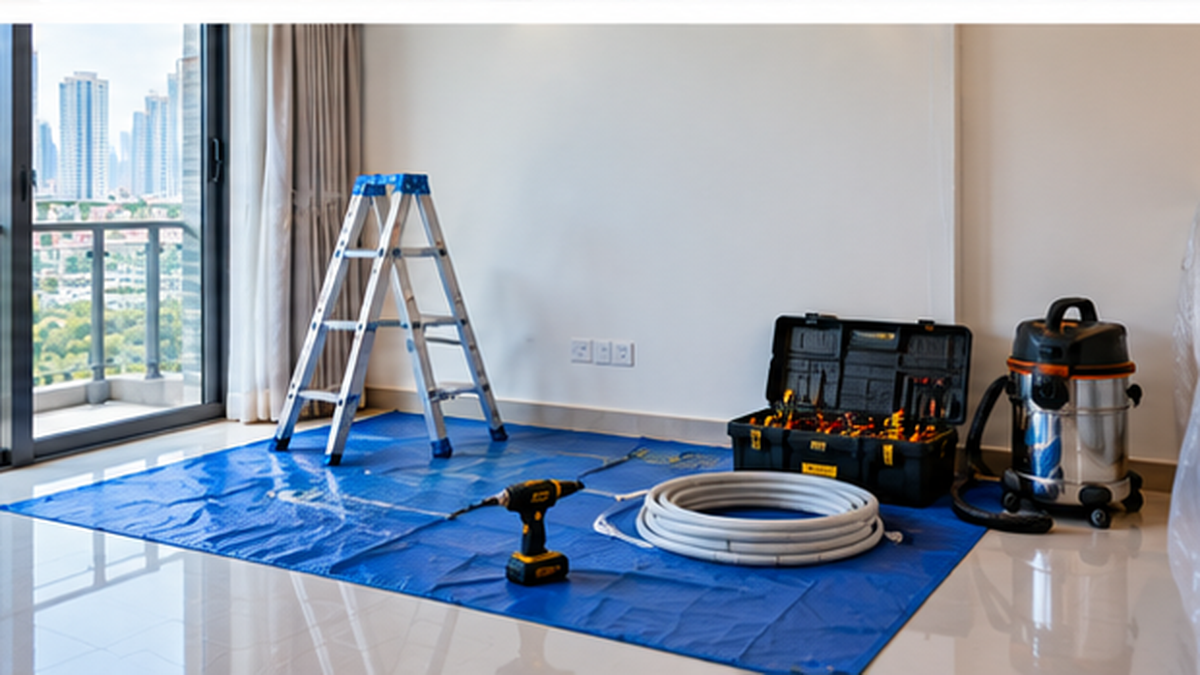
Make the installation area easy to reach. Move furniture, decorations, electronics and fragile items away from the intended indoor-unit wall.
The technician may need space for a ladder, tools, piping and protective coverings. A clear work area reduces unnecessary movement around your belongings and helps the job proceed more efficiently.
You should also provide a clear route between the entrance, indoor location and outdoor condenser area.
8. Confirm Condo or Building Access
If you live in an apartment, condominium or managed building, check the access requirements before installation day.
These can include contractor registration, renovation approval, security registration, service-lift booking, loading access and permitted working hours.
A simple installation can still be delayed if the technician arrives but cannot enter the building or use the required access route.
9. Confirm the Installation Scope Before Work Starts
Before drilling or installation begins, make sure you understand what is included in the quoted scope.
Useful questions include:
- How much copper piping is included?
- What is the additional piping rate if more is needed?
- Is drainage included?
- Is electrical work required?
- Is an outdoor-unit bracket required?
- Is old-unit dismantling included?
- Are there additional charges for difficult access?
If the technician identifies additional work after inspecting the site, ask for the extra scope and price to be explained before proceeding.
What Should You Do on Installation Day?
- Keep the aircond unit and accessories available for the technician.
- Make sure the work area and access route are clear.
- Provide building access or parking instructions if required.
- Show the technician your preferred indoor and outdoor locations.
- Confirm the piping, drainage and electrical route before drilling starts.
- Approve any additional work before it is carried out.
What Should You Check After Installation?
Before the technician leaves, run the aircond and check the basic result with them.
- Confirm the aircond starts and produces cool air.
- Check that the indoor unit is securely mounted.
- Check that the outdoor unit is stable and has suitable clearance.
- Confirm water drains correctly without leaking indoors.
- Listen for unusual vibration or noise.
- Ask where the isolator or relevant electrical control is located.
- Ask for basic filter-cleaning and maintenance guidance.
A short final check is easier than discovering a preventable issue after the installer has already left.
Frequently Asked Questions
How should I prepare for aircond installation?
Prepare the aircond model and HP, photos of the indoor and outdoor locations, information about the electrical point, access requirements and details of any existing unit that needs removal. Clear the work area before the technician arrives.
Do I need to move furniture before aircond installation?
Yes. Move furniture, electronics, decorations and fragile items away from the installation wall so the technician has enough space for a ladder, tools and protective coverings.
Should I choose the aircond location before the installer arrives?
You can choose a preferred location, but the technician should confirm the final position after checking airflow, drainage, piping, outdoor-unit placement and servicing access.
What photos should I send before booking?
Send a photo of the intended indoor-unit location, outdoor condenser location, existing aircond if applicable and the electrical point if one already exists.
Do I need an electrician before the aircond installer arrives?
Not always. If you are unsure whether the existing electrical supply is suitable, show the installer the current setup first so any additional electrical work can be identified.
Should I remove the old aircond before installation?
Usually it is better to tell the installation company that an old system is present and confirm whether dismantling and removal are part of the booked scope.
How early should I check condo management requirements?
Check before confirming the installation date. Contractor registration, service-lift booking or permitted working hours can affect when the job can take place.
What should I check after the aircond is installed?
Check cooling, drainage, unit stability and unusual noise or vibration. Ask the technician to explain basic operation and maintenance before leaving.
Ready for Aircond Installation in KL & Selangor?
Send Aircond Service Harini your location, aircond HP/model, indoor-location photo and proposed outdoor-unit photo before booking.
Preparing these details early helps the team understand the job before the technician arrives and makes it easier to identify any access, piping, drainage or electrical requirements in advance.
Booking CTA: Send your location, aircond HP/model, indoor-location photo and proposed outdoor-unit photo before booking.